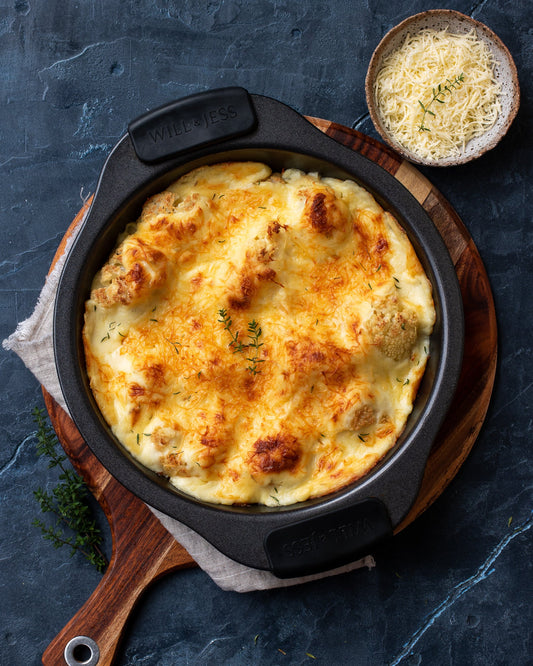
Spinach And Cheese Open Pita

The spinach and cheese open pita (spanakopita in Greek) is easy to put together and it has a wow factor about it. Typically when making any Greek pita (pie) the filling is either placed between the phyllo layers or it is rolled inside and then shaped as a snail. In this case for the spinach and cheese open pita, the filling is fanned inside the phyllo and ends up exposed.

The spinach used
I’ve tried different types of spinach to add to the filling and in the end I just chose what was most convenient. Spinach is grown in the ground and as a leafy green it gets a lot of soil within the fresh bunch. Hence I use frozen spinach or baby spinach leaves, which are not as hard to wash out the soil for this spinach and cheese open pita recipe.


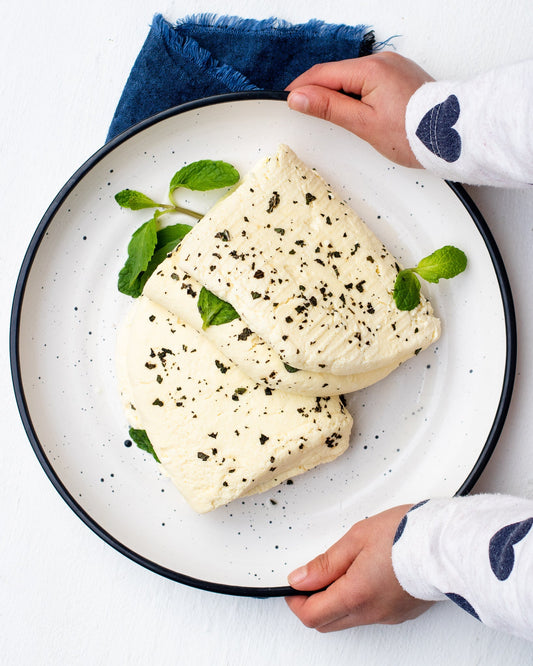
The cheeses used
Typically when I make spanakopita I use a variety of cheeses to get a depth of flavours as well as try balance the saltiness of others. Feta is quite a salty cheese (traditionally made from goat’s milk) so I add ricotta to balance it out and add a bit of creaminess to the filling. Another Greek cheese I use is graviera, but it can be substituted for parmesan if you can’t find it. Both are salty but they give this spinach and cheese open pita an intense and nutty kind of flavour. The best way to get all of them is an international deli, where they will weigh them up and give you the exact quantities you need.


The phyllo pastry used
For the phyllo I used a premade pack, Antoniou phyllo, as it is a lot more convenient and quicker than rolling your own phyllo. If you have never worked with phyllo before please take note of the following:
1. Phyllo needs a minimum of 2 hours to thaw in its own pack before you can use it. That way it will be easier to work with.
2. Phyllo dries up quite quickly, so as you are assembling the pita you need to have the stack you are not using covered with a damp cloth. And then work through the phyllo as quickly as you can.
3. Each time a sheet of phyllo comes into contact with another you need to ensure it is brushed with oil/butter so it doesn’t dry out and so that it cooks properly.

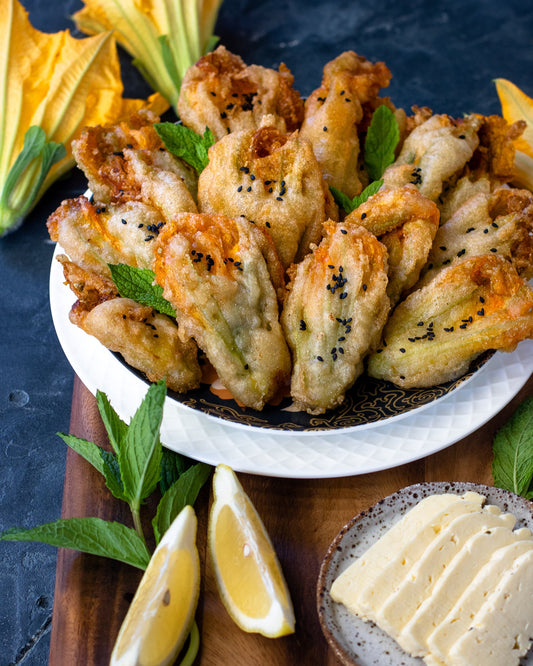
Assembly process – rectangular or spiral
I have made this spinach and cheese open pita using a large round baking dish or a rectangular dish. So I have written two different recipe cards based on the baking dishes you might have at home too and you can adjust the amount of phyllo/filling you use accordingly. The process of forming the filled phyllo fan is the same in both it is only the way you position them in the dish that differs.
The egg/milk wash that is poured over in the end is done so to add moisture and ensure the spinach doesn’t burn as much. If you do not add that then the spinach and cheese open pita will turn out dry.
For more baked good creations, traditional and non, check out this link!
6 comments
Love these flavours so much! I personally prefer this method to the ‘layered’ style spanakopita. Though phyllo can be quite fiddly, once you get the hang of it the fans of pastry are so pretty and presentable when pieced together. This is such a versatile recipe – a side with dinner, left overs can be served for breakfast and coffee or some olives and cucumber for lunch. Great staple to have up your sleeve!